Total Pageviews

Showing posts with label repairs. Show all posts

Monday, April 22, 2019

The "Running a little hot" saga

     On the way down to Fort Myers Beach in April the temp gauge went up to almost 200 degrees before dropping back down to 180.  It had done this a few times the previous week.  On the way back to Burnt Store Marina it did it again, but this time after the temp went back down to 180 it slowly crept up to about 195 and stayed there.

     I started my investigation and confirmed that the raw water strainer was clean, water flow was good and the impeller was intact.

     The next step was to check the thermostat.  I tested it in a pan of water and it opened at 180 degrees.

     Now it gets fun.  While re-installing the thermostat, the cover plate broke when I tightened the bolts into the housing.

Old cover plate on the left

Old cover plate on the left
     The old cover plate may have been original and was very brittle.  Trans-Atlantic Diesel sent out a new cover plate for the thermostat.  I also sent them the old one so they could use it to make new ones. 

     I re-installed the thermostat with the new cover plate and went out for a sea trial.  The thermostat was opening but the engine was still running a little warm, about 190-195 degrees.

     My next step was to run Rydlyme through the raw water side to clean it out.  It had been about 500 hours since the last time.

     While I was running the Rydlyme through the raw water side I noticed that the raw water was mixing with the coolant in the coolant tank.  I finished with the Rydlyme and drained the raw and fresh water systems.

     I filled up the fresh water side with water and pressured tested it.  It would not hold pressure.

     I pulled the heat exchanger off and could see that some of the tubes had split.  This caused the raw and fresh water sides to mix.

   
Old heat exchanger tubes

Old heat exchanger

          I decided to replace the heat exchanger instead trying to repair it, so it was back to Trans Atlantic Diesel for a new heat exchanger.


New heat exchanger

New heat exchanger tubes

     While I was replacing the heat exchanger I also pulled the coolant tank off to be re-painted.
I then put it all back together and installed it onto the engine.

New heat exchanger and freshly painted coolant tank.

Old heat exchanger and tank


New heat exchanger with freshly painnted coolant tank
     So with everything back together I filled the coolant side and started up the motor.  Everything was going well for the first ten minutes and then I started to hear a high pitched whine from the front of the motor.  I shut down and poked around.

     I discovered that the fresh water pump was very loose when I grabbed and shook it.  It appeared that the bearings were not good and that this was causing the noise.

     I pulled off the fresh water pump and it was obvious that it needed to be rebuilt.  So you guessed it, back to Trans Atlantic Diesel for a rebuilt pump.  I shipped it off and waited for it to return. 
Old fresh water pump

re-built pump

Painted re-built pump

Painted re-built pump


Re-built pump

 
The included gaskets.  The one on the left was for the water pump.  I soon found out what the one on the right was for.
 I got the pump returned quickly from Trans Atlantic diesel and re-installed it.  Of course, being a forty year old engine something always goes wrong.   There is a plate that installs onto the front of the motor and then the pump installs onto the plate.  While installing the pump onto the plate, the plate cracked, just like the thermostat cover plate.  The plate was old and brittle and cracked when the pump bolts were tightened.

The old broken plate is on the top.  The new plate from Trans Atlantic Diesel is on the bottom.
    I again called Trans Atlantic diesel, I have them on speed dial now, and I was able to get the plate very quickly.

     I installed the plate, now I knew what the other gasket was for, and the water pump.  Everything went back together well and there were no leaks.

     The fresh water side was now in good shape.  I decided to do one last sweep of the raw water side.  The strainer was clean and the impeller was intact.  However, when I put the impeller cover plate back on, one of the old bolts broke. 

The broken bolt is on the right next to the post
   I pulled the raw water pump off and did a very poor job of trying to drill out the broken bolt.  So one last call to Trans Atlantic diesel, I hope, and I got a new Sherwood raw water pump.  I will take the old one to a machine shop and see if I can salvage it for a spare. 

     The raw water pump arrived quickly and was installed without incident. 

     A sea trial showed that the thermostat was not opening at the right temperature.  I diagnosed an air bubble and was able to get it out. 

     The second sea trial had the engine getting up to 180 degrees and staying there.  We are now back to normal and back to cruising.   We are keeping our fingers crossed that nothing else will go wrong for a while.

     This whole episode took about three months.  Most of the time was spent sending packages back and forth to Trans Atlantic Diesel.  We also travelled to Oregon and Massachusetts for about three weeks.

     I cannot say enough good things about Trans Atlantic diesel.  If it were not for their expertise and availablility of parts this project would have been much worse and taken much longer.

Monday, April 17, 2017

Cockpit ladder steps from Plasteak


I replaced the teak steps on my cockpit ladder with Plasteak.  I think they look great and no maintenance.


Swim Platform

One of my winter 16/17 projects was to clean up the teak swim platform.  I had to grind off the old bolts holding the platform to the angle brackets, they were frozen tight.  I then brought it home to the basement to work on over the winter.


This is what is looked like before cleaning.  Lots of flaking varnish.


A lot of dirt too.


Really needs work.


I wanted a platform that looked good with not too much maintenance.  I sanded with 80 grit using my random orbital sander.  I sanded between the slats with a dremel tool and drum sander.  If you use a dremel for this put it on a slower speed so you don't damage the teak while sanding.

After sanding, I put on three coats of Semco Teak Sealer.  Very easy to apply and looks good.  Semco says that it only needs to be re-applied twice per year.  We will see.


Here it is installed back on the boat.


It looks much better, but now the two ladder steps look like crap and will have to be re-done also.

Monday, February 6, 2017

 Rebuilding rear wall 


     We had some water intrusion that rotted a portion of the rear wall.  We resolved the problem by removing the side stanchions and lifelines.  I always thought they were in my way when I walked along the side decks.  They would trip me up constantly.


     Part of the floor was also rotted out.  We had a little demolition to rip out the rotted wood.


     There was an inside wall and an outside wall that needed to be removed and rebuilt.


     I also replaced the teak sole under the wall.


     I used 5/8 marine plywood with three coats of west system epoxy and three coats of Petit epoxy paint.  Hopefully if it gets wet again it won't rot.   I used the old pieces as templates.


     I replaced the floor piece with 3/4 marine plywood with three coats of epoxy.


     I also replaced the side paneling with new laminate over the old paneling.  It brightened up the salon a bit.


          Installation went well and I have not had anymore leaking problems.

Friday, June 24, 2016

Filling old holes

                   I am filling old screw holes in the cockpit with west system epoxy and filler.

                                      I used a dremel to drill out the holes and chamfer them.
                                                 Then I sanded and cleaned with acetone
                                                  I still have to sand and apply gel coat


Sunday, June 19, 2016

Raft up damage

During the summer sailstice raft up we bumped boats with White Wolf and sustained some cosmetic damage.


Here are some scuff marks

                                                     They buffed out very easily

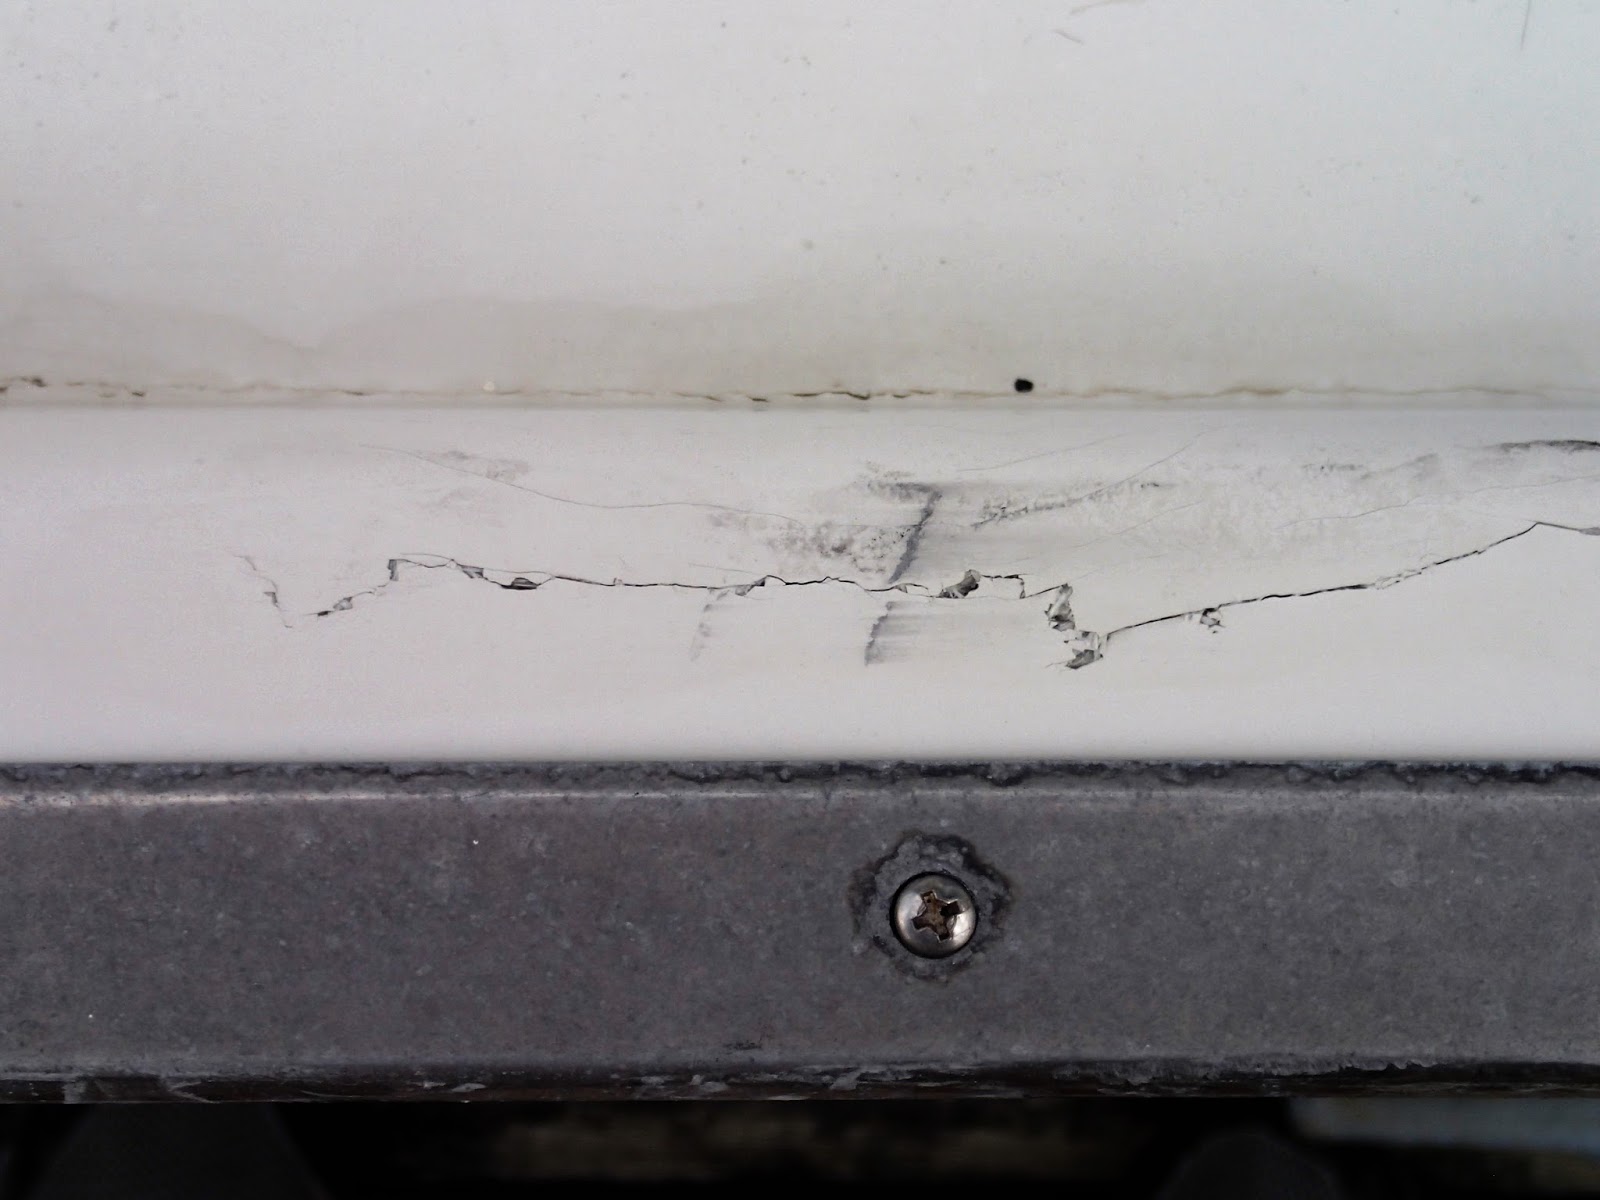
Some gel coat cracks near the rub rail


                                                            Small cracks near the rub rail


I ground out the cracks and filled with west epoxy

                                                   This is after a light sanding

                                             I will sand some more before applying gel coat


Wednesday, May 4, 2016

 Salon and V-Berth Painting

     It was time for a sprucing up of the salon and v-berth.  I removed all of the teak doors and applied several coats of poly to make them shine.  I also re-painted the salon walls and the v-berth.  It made everything a little brighter.